
How to Install the Kadence Theme to your WordPress Dashboard
Below are the following “step by step” instructions to installing the Kadence Theme to your WordPress dashboard.
I have personally been using the Kadence Theme for the past 10 years and find speed, mobile friendliness and customisation makes it’s a favourite of mine to use.
To install:
- For a visual experience, please click below for the video on my YouTube channel,
- or scroll down further for the written instructions.
Need a hand with your WordPress website?
If you’d rather spend your time running your business than managing your website, I can help.
I provide WordPress website maintenance and support and those small website jobs that keep getting pushed down your to-do list.

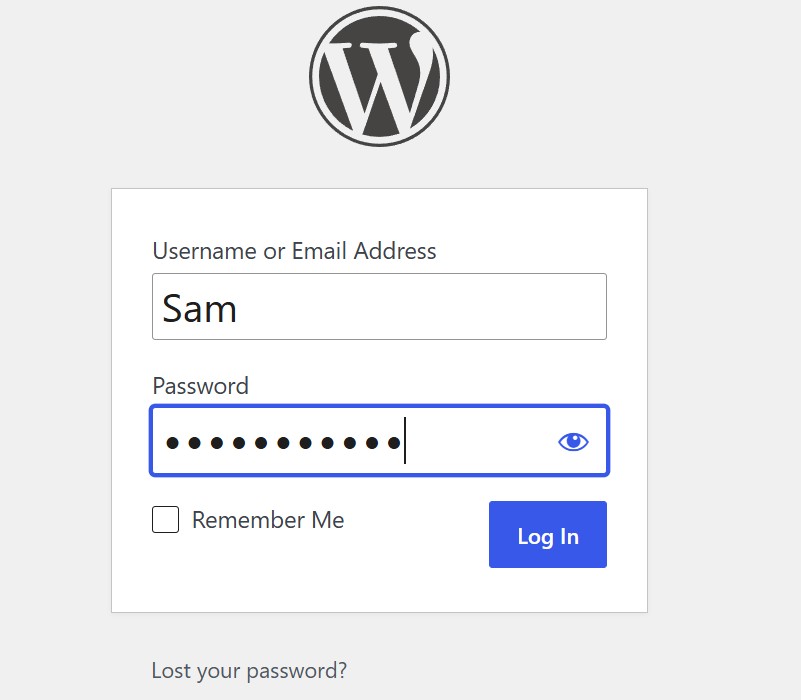
- Step 1 – Log in to your WordPress Dashboard.
Please Note!
If you already have another theme installed with pages and posts published, please install the new theme using a “staging site” first, or have your backup processes in place to revert back.
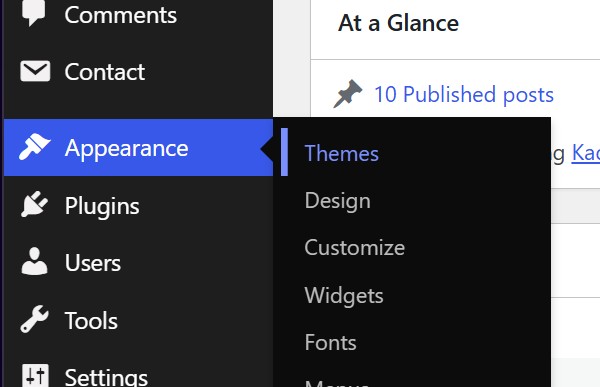
- Step 2 – Scroll down the menu options of your WordPress dashboard on the left hand side, Go to Appearance and then click on Themes.
- Step 3 – At the Top left hand side of your WordPress Dashboard, press the Add Theme button at the top.

- Step 4 – Type Kadence into the search bar on the top right hand side of your dashboard. However, its a popular theme, so no doubt it will be one of the few options available without having to search.

- Step 5 – Click the Install button on the Kadence theme card, which will only take a few seconds.

- Step 6 – Click Activate once the installation finishes, which is also only take a few seconds.

……. And that’s it!
On a fresh , clean website, you won’t see much of a change, but the settings in Kadence will be the basis of how you design your website.
From here, you can choose to install a Starter Template, use the design library, or adding the different blocks to edit into your final creation.
